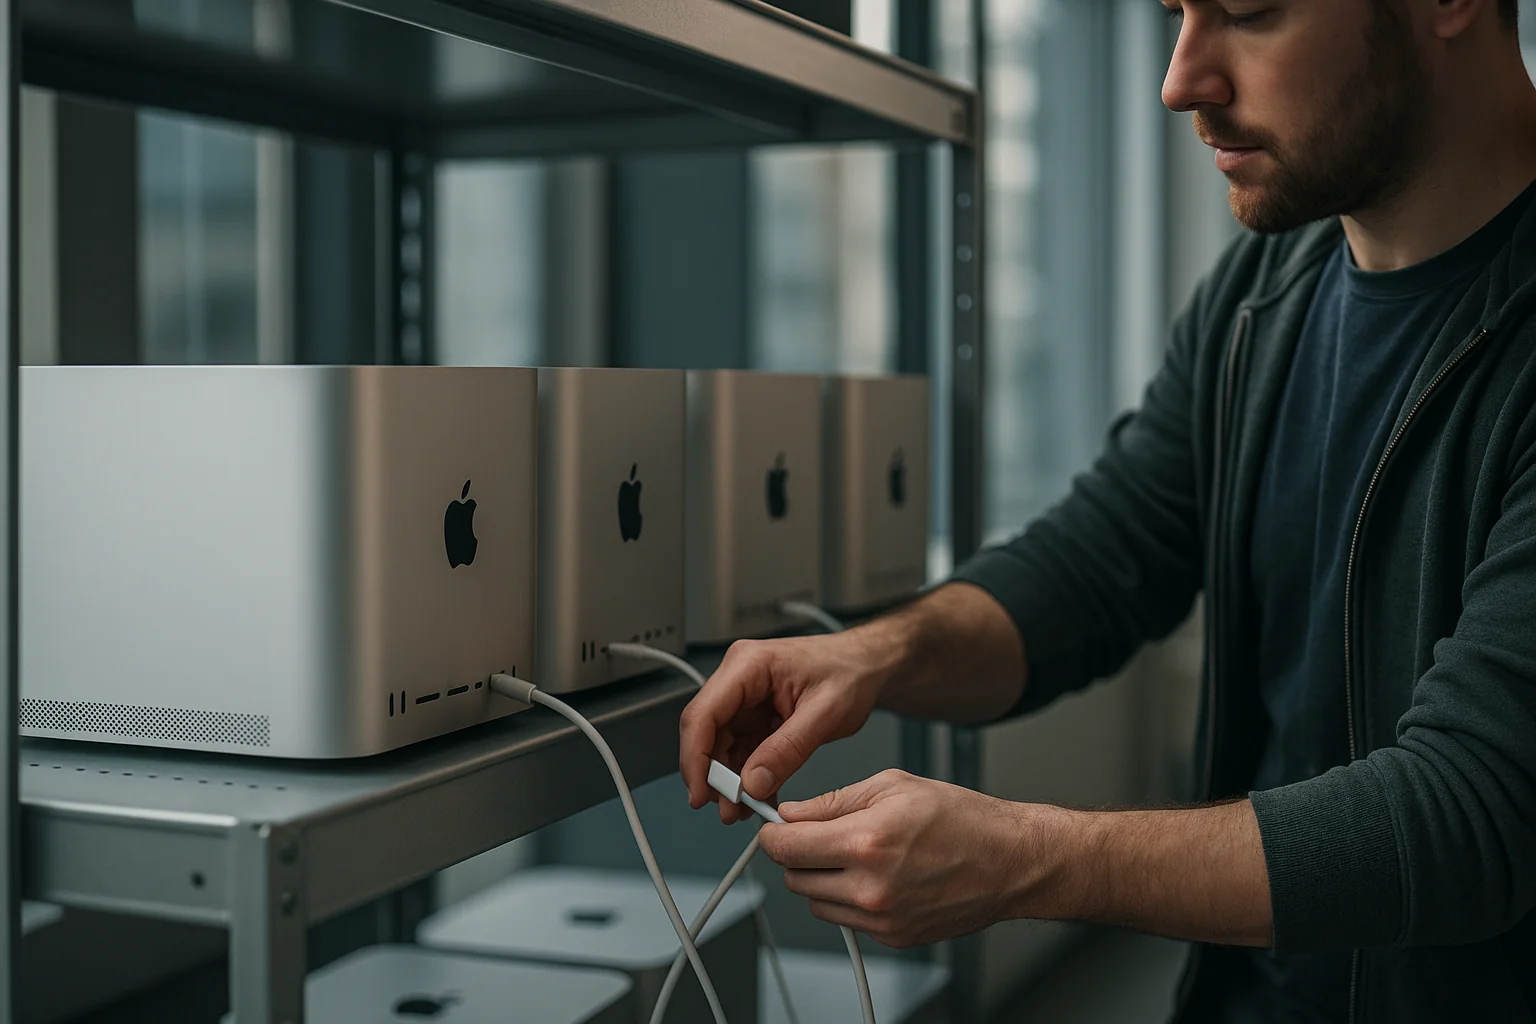
If your iOS builds still rely on a fragile Mac mini zoo, you’re paying for noise, not throughput. Provision drift, mystery keychain prompts, zombie simulators — the usual. Meanwhile, a new class of tooling built on Apple’s Virtualization.framework is making the rounds in the community (see the recent buzz around “macOS Container Machines”). The promise is simple: Docker-like workflows, but for macOS guests on Apple Silicon. Ephemeral, layered images. Snapshots you can actually trust. And a CI story that doesn’t require an altar of sticky notes and SSH keys.
What changed: macOS finally behaves like a container host (on Apple Silicon)
Apple’s Virtualization.framework quietly unlocked something we’ve wanted for a decade: lightweight macOS guests that boot fast, can be templated, and behave consistently. A growing ecosystem wraps it with familiar ergonomics — image registries, layered snapshots, and a CLI that looks suspiciously like the tools you use every day.
Call them whatever you want — virtual machines with container semantics, “container machines,” or just macOS guests — the effect on iOS CI is the same:
- Ephemeral by default. Each job starts with a clean guest and discards it. No more long-lived snowflake builders.
- Layered, cacheable images. Bake Xcode, SDKs, SPM/CocoaPods caches, and your build tools into image layers for cold-start speed.
- Deterministic prompts. Privacy/TCC, developer tools, and code signing trust states are pre-seeded in the image instead of popping up in the middle of a CI run.
- Predictable performance. You size vCPU and memory per job; you don’t inherit last week’s Spotlight indexing or stray Simulator daemons.
It’s not magic — it’s virtualization, and you must run it on Apple-branded hardware and respect Apple’s licensing. But for teams that have been juggling hand-tuned Mac minis or renting opaque cloud Macs by the minute, this is the first sane path to reproducible iOS CI at scale.
Should you adopt macOS container machines? A CTO decision framework
1) Your workload pattern
- High-churn, multi-repo iOS estate (3+ apps, 30+ pipelines): Strong fit. Image layers amortize Xcode and SDK install time, and ephemeral guests eliminate cross-pipeline contamination.
- Low-volume, single app with weekly releases: Mixed. The operational win is smaller, but security (ephemeral signing surfaces) may justify it.
- Bazel or large SPM graphs: Strong fit. Prebake SPM caches and ccache/distcc layers to cut cold starts by minutes.
2) Hardware footprint and density targets
On Apple Silicon, iOS release builds typically consume 6–10 vCPUs and 8–16 GB RAM, with brief disk IO bursts at 200–400 MB/s. As a rule of thumb:
- Mac mini (M2 Pro, 32 GB): 1 concurrent heavy build guest or 2 light CI guests.
- Mac Studio (M2/M3 Max, 64 GB): 2–3 concurrent heavy build guests.
- Mac Studio (128 GB): 3–4 heavy or 5–6 light guests with disciplined IO and cache layout.
Reality will depend on your project and whether you’re also running UI tests (Simulators are memory-hungry). Plan a 20% headroom buffer per host to absorb toolchain spikes during major Xcode updates.
3) Security posture and signing risk
- If you currently inject long-lived App Store Connect keys or P12 signing certs into shared builders, stop. Ephemeral guests plus short-lived tokens and scoped keychains are a material risk reduction.
- If you’re in a regulated environment, pre-approval of TCC/privacy prompts and network egress beacons inside images will save you from compliance fire drills.
4) Economics: build-or-rent
Assume your current cloud Mac cost basis is in the $0.12–$0.50/min range ($7–$30/hour). At 4 hours/day of iOS CI, 22 days/month, that’s $616–$2,640 per runner per month. A Mac Studio (M2/M3 Max, 64–128 GB) costs roughly $2.5k–$4.5k one-time. With 3 concurrent guests and a 3-year amortization, your fully loaded cost (including 15% for power and spares) often lands under $250–$400/month per heavy guest. That’s a 35–75% reduction in steady-state CI cost for teams with daily throughput. If your CI is bursty, or you can’t keep hosts warm, renting remains rational.
The reference architecture: from golden image to green builds
1) Build a golden image pipeline
You want a reproducible, automated image build, not a hand-clicked VM. Treat it like code:
- Base: a clean macOS guest built via Virtualization.framework-compatible tooling.
- Layer 1: Xcode pinned to an exact version. Freeze CLT and SDKs. If you need deltas, create separate images per Xcode minor. Mixing toolchains inside one image reintroduces drift.
- Layer 2: language toolchains and package managers (Homebrew bundle, Ruby gems for fastlane, Node for tooling). Pin versions in lockfiles.
- Layer 3: pre-seeded caches and trust state. Prime SPM and CocoaPods caches with your top 10 repos at known SHAs. Pre-accept Xcode license and seed TCC/privacy approvals for xcodebuild, simctl, instruments, and any screenshot tooling. Disable Spotlight indexing on workspace paths.
- Layer 4: CI agent and bootstrap. Your runner (e.g., Buildkite agent, GitHub Actions self-hosted, GitLab runner) plus a thin entrypoint script. No business secrets live in the image.
Produce signed, versioned images. Store them in a registry (artifact store) with provenance metadata: image hash, Xcode build number, OS build, and SBOM for userland packages.
2) Orchestrate ephemeral guests per job
Give your existing CI coordinator the power to request a guest, attach storage, and destroy it on completion. You don’t need Kubernetes to do this well:
- A host agent on each Mac manages a local pool. It fetches images, creates guests, attaches a sparse APFS disk for the working copy, and exposes the runner over localhost.
- Jobs land via your existing CI; the guest pulls repo code, runs builds, uploads artifacts, and then the host agent shreds the APFS volume and discards the guest.
- Maintain one tiny persistent volume per guest image for warm caches if you must, but prefer layers so you can keep guests stateless.
Capacity planning is simple: max concurrent guests per host is a function of RAM, IO bandwidth, and your accepted job latency. Start conservatively and back into density by measuring p95 build times and host swap rates under load.
3) Handle signing, secrets, and notarization without footguns
- App Store Connect API: Issue narrowly scoped keys per pipeline with rotation every 30–90 days. Inject at runtime via your CI secret store; lifetime limited to the job.
- Certificates: Prefer Developer ID/Distribution certs stored in a hardened, per-job ephemeral keychain created on guest boot. If you must import a P12, zero it and the keychain on teardown.
- Notarization: Use notarytool with a dedicated CI Apple ID that has no human mailboxes attached. Block all outbound TCP except the Apple endpoints required for signing and notarization.
With container machines, the blast radius of a compromised job is the job. That’s an order-of-magnitude improvement over shared builders where secrets and caches linger for months.
4) Make performance boring
- SPM and Pods: Bake top dependency caches into the image. For long-tail repos, a small read-through cache on a fast local NVMe helps. Avoid shared NFS — it becomes your bottleneck.
- DerivedData: Keep it on the guest ephemeral disk. Don’t persist it across jobs; determinism beats the occasional cache hit.
- Simulators: Pre-create the exact device/OS pairs you test against in the image. Delete all others. Simulators balloon storage and memory if you let them sprawl.
- Concurrency: If you enable -jobs for xcodebuild, tune it per vCPU and watch IO. Over-parallelization looks fast until your NVMe turns into a stoplight.
Operational guardrails you actually need
- Licensing compliance: Apple permits macOS virtualization on Apple-branded hardware, subject to the macOS license. Confirm your interpretation with counsel, especially if you run multi-tenant hosts.
- Patch cadence: Treat hosts like cattle. Monthly OS updates. Rebuild images when Xcode or SDKs change. Don’t manually patch long-lived guests; rebuild instead.
- Observability: Emit build step timings (checkout, resolve deps, compile, test, sign, notarize), guest lifecycle events (create, boot time, teardown), and host saturation (CPU, RAM, IO wait). Alert on p95 regressions and guest boot times > 20s.
- Change control: Promote images through dev → staging → prod CI with canaries (5–10% of jobs) before flipping 100%. Tie image promotion to green test suites.
- Disaster drills: Practice “Xcode zero-day” and “revoked signing cert” runbooks quarterly. Can your pipeline roll to a new image and new certs in under 24 hours? If not, fix it now, not during App Store review week.
Costing it out: an example for a mid-size team
Say you run 40 iOS CI jobs/day with a p50 of 12 minutes and p95 of 20 minutes, with 20% UI test coverage that doubles runtime. You want p95 wait time under 5 minutes.
- Throughput math: Around 10–12 hours of compute/day. With 3 heavy guests per host, two 64–128 GB Mac Studios give you 6 concurrent heavy slots. That clears the queue during office hours with slack for spikes.
- Capex: $8,000 for two well-specced Studios, plus $1,000 for spares/cables/rack. Amortized over 36 months: ~$250/month/guest equivalent.
- Opex: Power and space are negligible in a typical office or co-lo pod; budget 10–15% of capex annually for maintenance or swaps.
Contrast that with renting 6 cloud Mac runners at $12/hour during an 8-hour window: ~$5,760/month. Even if you halve runtime through on-demand scaling, you’re still 3–5x more expensive than owned hosts at steady state.
Pitfalls and how to avoid them
- Silent TCC failures: You forgot to pre-seed privacy approvals and your UI test job hangs. Solution: In your image build, script tccutil/db seeding for simctl, instruments, and any screen capture tools. Verify with a smoke test.
- Cache “optimizations” that create drift: Persisting DerivedData across jobs saves 90 seconds until it causes a day of red builds. Solution: Prefer image layers and ephemeral disks. Let correctness win.
- Spotlight and Time Machine noise: They will light up your IO during builds if you let them. Solution: Disable indexing on build paths; never enable Time Machine on CI hosts.
- Version pinning slippage: Someone “just updates Xcode” on a host. Solution: Lock host images and require image rebuilds for toolchain changes. Emit the Xcode build number at job start and fail if it diverges from the expected.
- Underestimating Simulator RAM: A single iPhone 15 Pro simulator can eat 2–4 GB. UI tests can double the memory footprint of a job. Solution: Account for this in guest sizing; don’t co-locate too many UI test jobs per host.
How this plays with nearshore teams
If your iOS team spans US and Brazil (or elsewhere in LatAm), macOS container machines create a shared contract for builds and tests. Everyone targets the same image hash and Xcode build number; no more “it passed in São Paulo but failed in Austin.” You get 6–8 hours of workday overlap for remote debugging, but far fewer reasons to use it. And for cost: buying hosts in-region plus a small local ops playbook is still 20–40% cheaper than keeping a farm of rented cloud Macs warm in a US data center.
A 30-60-90 day rollout plan
Days 0–30: Build the backbone
- Buy 1–2 Apple Silicon hosts and stand up your host agent. Define image build as code in a private repo.
- Produce Image v0: pinned macOS build, Xcode version, CLT, and all privacy/TCC seeds. Add your CI agent.
- Run a shadow pipeline for one repo. Target parity on green builds. Emit timings and guest boot metrics.
Days 31–60: Prove performance and harden security
- Add Layer 2/3: brew bundle, fastlane, Node tooling; pre-seed SPM/CocoaPods for your top repos. Measure cold-start deltas.
- Introduce ephemeral keychains and short-lived App Store Connect keys. Lock outbound network to Apple endpoints.
- Canary 10–20% of production builds on container machines. Track p95 regressions and failure modes.
Days 61–90: Scale and decommission snowflakes
- Buy final capacity and set density limits per host. Tune vCPU/RAM per job type (build vs. UI test).
- Promote images through environments; document a monthly image rebuild cadence tied to Xcode releases.
- Flip 80–100% of iOS CI to container machines. Archive the old Mac mini runbooks; keep one snowflake on ice only if you absolutely must.
Why this is happening now
Two currents converged. First, Apple Silicon made macOS guests performant and power-efficient; second, the tooling layer matured to give you familiar container-like workflows. The HN chatter around “macOS Container Machines” is a symptom of that maturity. We finally have a path out of artisanal Mac farms that doesn’t trade one set of headaches for another.
If you’ve delayed modernizing iOS CI because prior generations of Mac virtualization were slow, awkward, or license-unclear, revisit your assumptions. The stack is ready. Your only real decision is whether you want to own steady-state capacity or rent it — and whether you’re willing to keep burning developer hours on debugging ghosts your process shouldn’t have created in the first place.
Key Takeaways
- macOS container machines make iOS CI ephemeral, reproducible, and secure by default — no more long-lived snowflake builders.
- Expect 2–4 heavy guests per 64–128 GB Mac Studio; plan 20% headroom and treat hosts like cattle with monthly image rebuilds.
- Cost drops 35–75% versus rented cloud Macs at steady state if you keep hosts warm; bursty teams may still prefer renting.
- Pin Xcode and toolchains in layered images; pre-seed SPM/Pods caches and TCC approvals to kill flakiness.
- Use ephemeral keychains and short-lived App Store Connect keys; restrict outbound network to Apple endpoints during signing/notarization.
- Roll out in 90 days: build images, canary, harden secrets, then scale and decommission the Mac mini zoo.